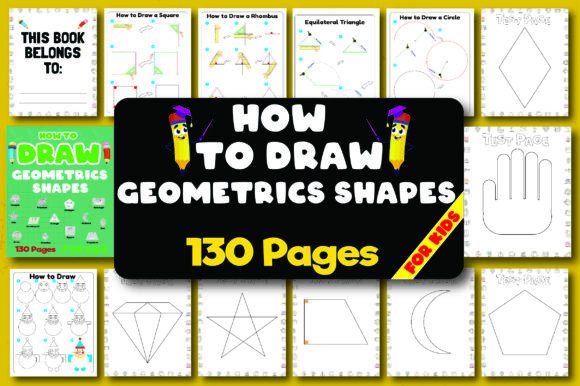
How to Draw Geometric Shape Step by Step
Learning how to draw geometric shapes step by step is a fun and rewarding activity that can spark creativity in young artists. Whether you're a parent looking for an engaging educational tool or a teacher seeking hands-on activities, this guide offers a structured approach to drawing basic and complex shapes using simple tools like the compass, protractor, and ruler.
The process of learning how to draw geometric shape step by step involves understanding the properties of each shape and practicing precise techniques. This method not only improves artistic skills but also enhances spatial awareness and mathematical thinking. With the right resources, such as a detailed drawing guide, children can explore geometry in a playful and interactive way.
Essential Tools for Drawing Geometric Shapes
To begin your journey into how to draw geometric shape step by step, it's important to have the right tools. A compass is essential for creating perfect circles and arcs. A protractor helps measure angles accurately, while a ruler ensures straight lines. These tools work together to make the process of drawing geometric shapes more manageable and enjoyable.
For those interested in digital creation, file formats like SVG, PNG, and AI provide flexibility for editing and resizing. High-quality PDFs with CMYK color profiles are ideal for printing, making it easy to produce physical copies of the guides. Whether you're printing at home or using a professional printer, these files ensure clarity and precision in every drawing.
Step-by-Step Guide to Drawing Basic Shapes
One of the first steps in learning how to draw geometric shape step by step is mastering the basics. Start with a square. Using a ruler, draw a straight horizontal line. Then, from each end of the line, draw vertical lines of equal length. Connect the ends with another horizontal line to complete the square. This simple process introduces the concept of symmetry and proportion.
Triangles are another fundamental shape. Begin by drawing a base line. Use a protractor to measure and mark a 60-degree angle at one end. Draw a line from the marked point to the other end of the base, forming a triangle. Repeat this process with different angles to create various types of triangles, such as equilateral, isosceles, and scalene.
Circles require a compass. Place the pointed end at the desired center and rotate the pencil end around it, keeping the distance consistent. For more complex shapes, such as hexagons or octagons, use a combination of a compass and ruler to divide the circle into equal parts. Each step in this process reinforces the principles of geometry and precision.
Exploring More Complex Shapes
Once the basics are mastered, you can move on to more intricate shapes. A pentagon, for example, requires dividing a circle into five equal sections. Using a protractor, measure and mark each 72-degree angle. Connect the points to form the pentagon. This technique can be applied to other polygons, such as heptagons and decagons, allowing for endless creative possibilities.
Creating star shapes involves drawing intersecting lines within a polygon. Start with a regular pentagon, then connect every other vertex to form a five-pointed star. This exercise not only teaches geometry but also encourages artistic expression. The same method can be used to create stars with different numbers of points, offering a range of design options.
Combining shapes can lead to more advanced projects. For instance, overlapping circles can create a flower-like pattern, while intersecting triangles can form a three-dimensional illusion. These activities help reinforce the concepts learned in how to draw geometric shape step by step while fostering imagination and problem-solving skills.
Benefits of Learning How to Draw Geometric Shapes
Engaging in how to draw geometric shape step by step offers numerous benefits beyond just artistic development. It improves hand-eye coordination, attention to detail, and logical reasoning. These skills are valuable in academic settings and everyday life, helping children build confidence and a deeper understanding of spatial relationships.
Additionally, the structured nature of this activity makes it an excellent tool for parents and educators. It provides a clear framework for teaching geometry in a way that is both educational and entertaining. The inclusion of fun facts about each shape adds an element of curiosity, encouraging learners to ask questions and explore further.
The availability of downloadable resources, such as PDFs and SVG files, makes it easy to integrate these lessons into various projects. Whether used as a standalone guide or combined with other materials, these resources support a flexible and personalized learning experience.
Choosing the Right Resources for Learning
When selecting materials for how to draw geometric shape step by step, consider the quality and usability of the content. High-resolution images and large print formats ensure that details are visible and easy to follow. A4-sized pages are ideal for classroom use or personal practice, allowing for comfortable handling and clear visibility.
Look for guides that include clear instructions and visual examples. A well-designed book or digital resource should break down each step into manageable parts, making the learning process less overwhelming. Including tips and tricks can also enhance the user experience, offering shortcuts and alternative methods for drawing the same shapes.
For those interested in customizing their learning experience, editable files like AI and SVG allow for modifications and additions. This flexibility is especially useful for teachers who want to tailor the content to specific lesson plans or students who enjoy experimenting with different styles.